If you have a lot of organizations/customers in Zendesk it can be a daunting, manual task if you need to administer them.
Some typical use cases:
- Adding New Orgs: You can use Zendesk’s built-in importer but it’s limited.
- Updating Existing Orgs: Add a tag, update a custom field, or apply a bulk change to any other field on the organization page.
Let’s step through how you can achieve these two use cases using only Google Sheets and a script.
There are a few steps involved:
- Generate an API key in Zendesk to allow access to Google Sheets.
- Create a Google Sheet and retrieve your organizations via the API.
- Make any updates in the Google Sheet.
- Push the changes back to Zendesk.
Step 1. Generate API Key
You’ll need an API key to allow script access to your Zendesk instance. You can revoke it later if needed.
- Open Zendesk Admin Center.
- Navigate to Apps & Integrations > Zendesk API.
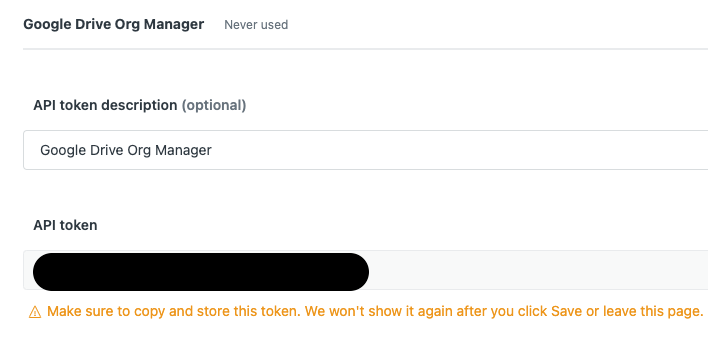
- Click Add API Token.
- Give it a descriptive name.
- Copy the key and store it securely.
- Click Save. You’ll need this key later.
Step 2. Create Google Sheet
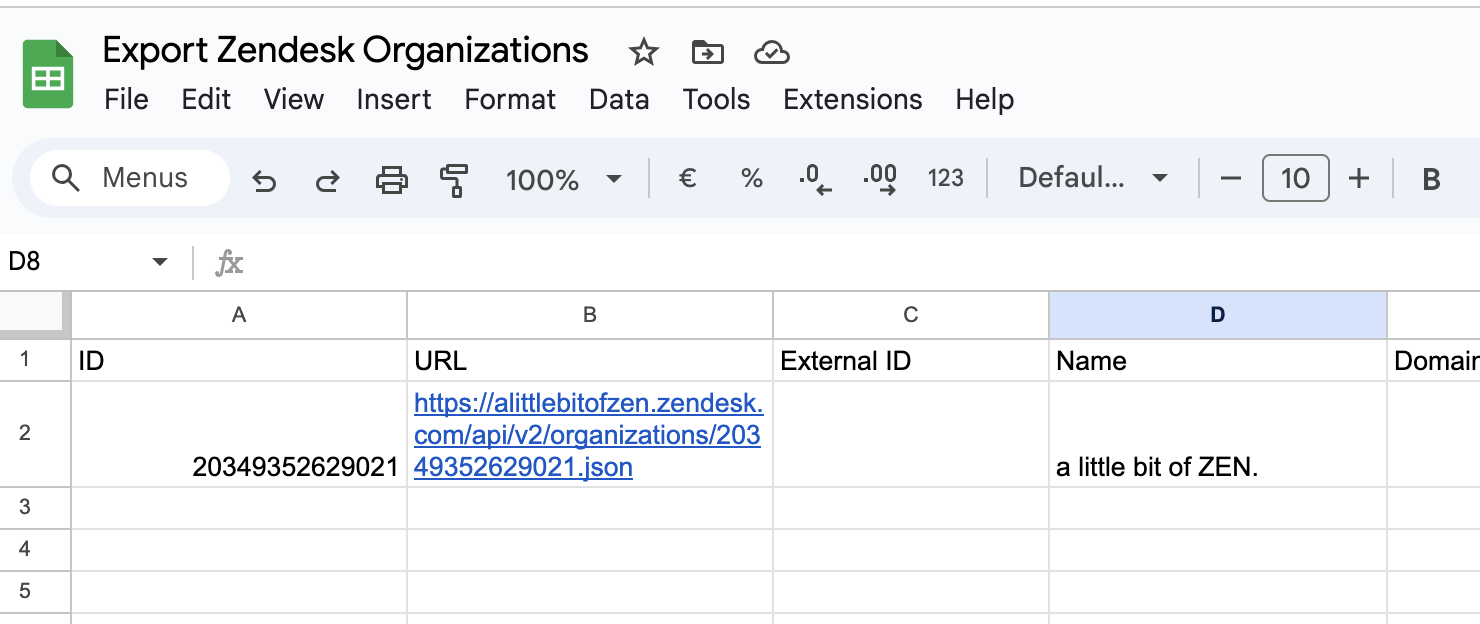
First, retrieve data from Zendesk via API. Follow this guide: Export Organizations To Google Sheets.
When done, you should have a Google Sheet with all your organization data. Use this reference for standard fields. For custom fields, extend the row variable in your script (e.g. org_country and org_type):
var row = [
  org.id,
  org.name,
  org.domain_names ? org.domain_names.join(', ') : '',
  org.created_at,
  org.updated_at,
  orgAccountOwnerEmail,
  org.organization_fields ? org.organization_fields.org_country : '',
  org.organization_fields ? org.organization_fields.org_type : ''
];
When you’re done, hit Save & Run to pull your organizations into the sheet.
Zendesk Organization Field Reference
| Name | Type | Read-only | Mandatory | Description |
|---|---|---|---|---|
| created_at | string | TRUE | FALSE | Time created |
| details | string | FALSE | FALSE | Org details (e.g. address) |
| domain_names | array | FALSE | FALSE | Associated domains |
| external_id | string | FALSE | FALSE | External ID mapping |
| group_id | integer | FALSE | FALSE | Default group for new tickets |
| id | integer | FALSE | FALSE | Auto-assigned ID |
| name | string | FALSE | TRUE | Organization name |
| notes | string | FALSE | FALSE | Any notes |
| organization_fields | object | FALSE | FALSE | Custom fields |
| shared_comments | boolean | FALSE | FALSE | End users can comment on each other’s tickets |
| shared_tickets | boolean | FALSE | FALSE | End users can see each other’s tickets |
| tags | array | FALSE | FALSE | Tags |
| updated_at | string | TRUE | FALSE | Last update time |
| url | string | TRUE | FALSE | API URL |
Source: Zendesk API Specification
💁🏽 Pro Tip
Zendesk has a limit of 100 rows per import, but this script handles pagination so you can paste in as many rows as needed.
Step 3. Make Updates
- Edit the data you want to change directly in Google Sheets. Do not alter structure or data types.
- When ready, return to your Apps Script tab.
Step 4. Push Your Changes Back To Zendesk
- Create a second script (e.g. syncGoogleSheetToZendesk).
- Paste the provided script, overwriting the default.
- Adjust for custom fields by creating variables (e.g.
orgAccountOwnerEmail,orgType). - Ensure your
headerMapvalues match your sheet’s column names.
var zendeskSubdomain = 'your_subdomain';
var zendeskEmail = 'your_email';
var zendeskApiToken = 'your_api_token';

function syncGoogleSheetToZendesk() {
  var sheet = SpreadsheetApp.getActiveSpreadsheet().getActiveSheet();
  var data = sheet.getDataRange().getValues();
  var headers = data[0];
  var rows = data.slice(1);

  var headerMap = {};
  headers.forEach(function(header, i) { headerMap[header] = i; });

  rows.forEach(function(row) {
    var organizationId = row[headerMap['ID']];
    var organizationName = row[headerMap['Name']];
    var organizationDomainNames = row[headerMap['Domain Names']];
    var orgAccountOwnerEmail = row[headerMap['CSM']];
    var orgType = row[headerMap['Type']];

    var organizationPayload = {
      organization: {
        name: organizationName,
        domain_names: organizationDomainNames ? organizationDomainNames.split(',').map(function(n){ return n.trim(); }) : [],
        organization_fields: { org_type: orgType }
      }
    };

    if (orgAccountOwnerEmail) {
      var userId = getUserIdByEmail(orgAccountOwnerEmail, zendeskEmail, zendeskApiToken);
      if (userId) {
        organizationPayload.organization.organization_fields.org_account_owner = userId;
      }
    }

    updateZendeskOrganization(organizationId, organizationPayload, zendeskEmail, zendeskApiToken);
  });

  Logger.log('Sync complete.');
}
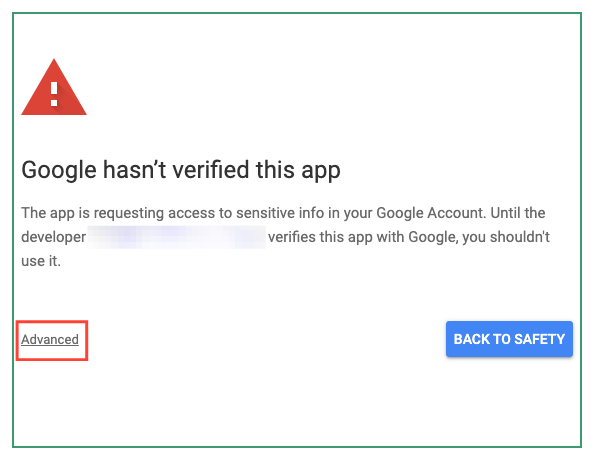
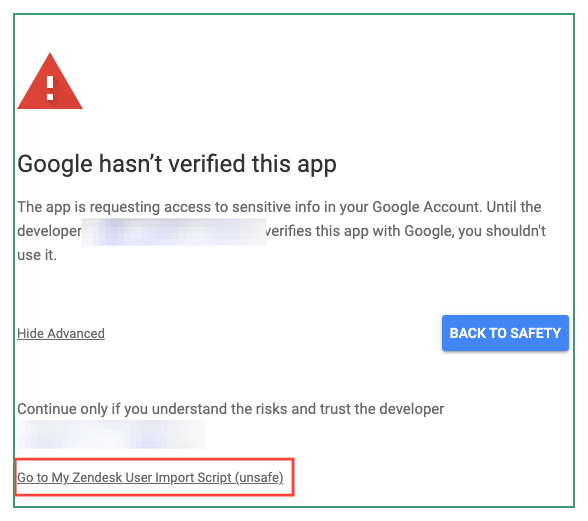
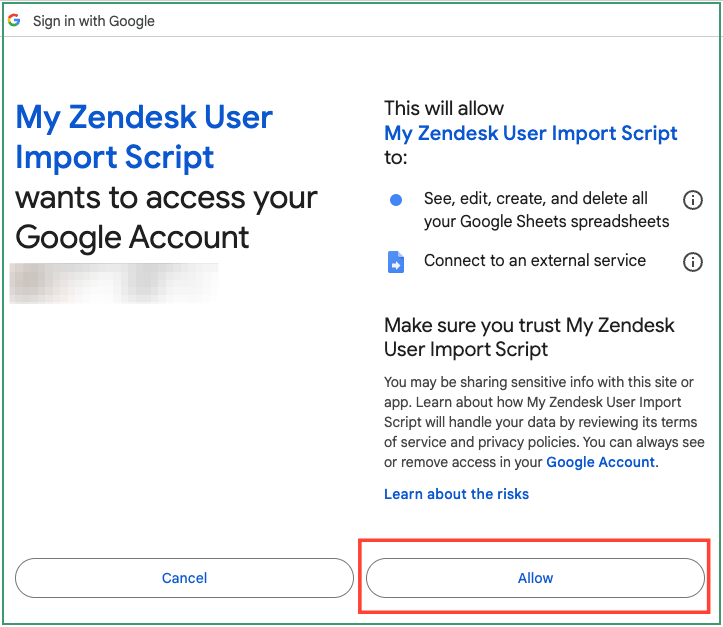
Update the variables (your_subdomain, your_email, your_api_token) with your actual details, then Save and Run. Authorize Google when prompted.
To Recap
Zendesk’s UI makes bulk updates cumbersome. You could purchase a third-party marketplace app, but with this script and Google Sheets you’ll be up and running quickly—no extra cost, and full control.