Bump, solve & close refers to specific actions taken within a ticketing platform such as Zendesk to manage and resolve customer issues more efficiently. In this post, we’ll address the bump stage. Three stages of the ticket lifecycle can be described as:
Bump
When a ticket has reached a particular point such as:
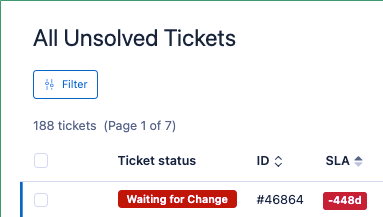
- breaching an SLA
- the ticket has aged
- a period of time passes while waiting for an internal group or third party
In these situations, the support team can “bump” the ticket by entering a comment, adding a tag, changing the priority, or another action to bring attention. Without this, the ticket may go stale and get forgotten.
Solve
This means resolving the ticket by setting the status to Solved. Not surprisingly, tickets that are solved don’t always actually get moved into Solved status. We need creative ways to ensure tickets don’t go stale here too.
Close
When no further action is required after a ticket is solved, it should be closed. By default, Zendesk closes tickets 4 days after Solved status, but it can be immediate or up to 28 days. Need longer than 28 days? That can be achieved too.
Solutions
By addressing each of the bump, solve, and close stages with automation we can mitigate risks and ensure high customer satisfaction. The following sections describe two possible approaches. Every support org has its own needs and SLAs—adapt accordingly.
Semi-automating the Bump Stage with a 👁️ Watch List 👁️
A well-designed bump automation can re-bump if the ticket remains ignored. One semi-automated approach is:
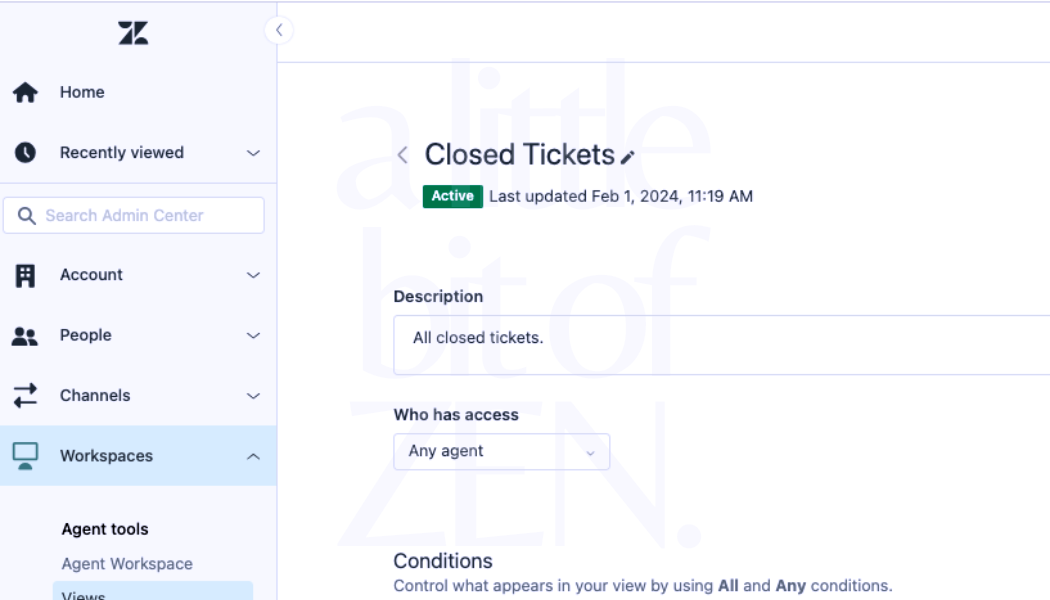
- Create a view called 👁️Watch List👁️ that shows tickets tagged
t_watchlist. Place it at the top of the agent workspace. - Build automations that add
t_watchlistto tickets under certain conditions. Optionally notify agents. - Agents open and bump the ticket. A trigger then removes the tag so the ticket disappears from the Watch List.
This approach allows many independent ways to add the tag: automations, triggers, external inputs, apps, etc. It ensures the neediest tickets are front and centre.
Fully Automating the Bump Stage with ⚙️📧 Automated Follow Up
This approach detects stale tickets, figures out who the ticket is waiting for, and sends a bump. For example, a low-priority ticket assigned to an internal group that hasn’t reacted within 7 business days.
💡 Important Note
The next steps use a webhook to update the ticket via the Zendesk API. Learn how to create a webhook here.
Make these form changes
Set a date field on your form to capture when the ticket was assigned to the other group:
- Create a new date field called T3 Follow Up Date and add it to your form.
- Create a new trigger with conditions (e.g. Group changed, Form = X, Status = Open/Waiting, Priority = Low).
Action: set T3 Follow Up Date to 7 days from now.
Now, when tickets are reassigned, a date is placed in the T3 Follow Up Date field. The bump can be automated if no action is taken.
Create a new automation
This automation acts on tickets where the Follow Up Date has passed and they haven’t been reassigned.
- Conditions:
- Ticket: Group is not [source group]
- Ticket: T3 Follow Up Date is within previous 1 days
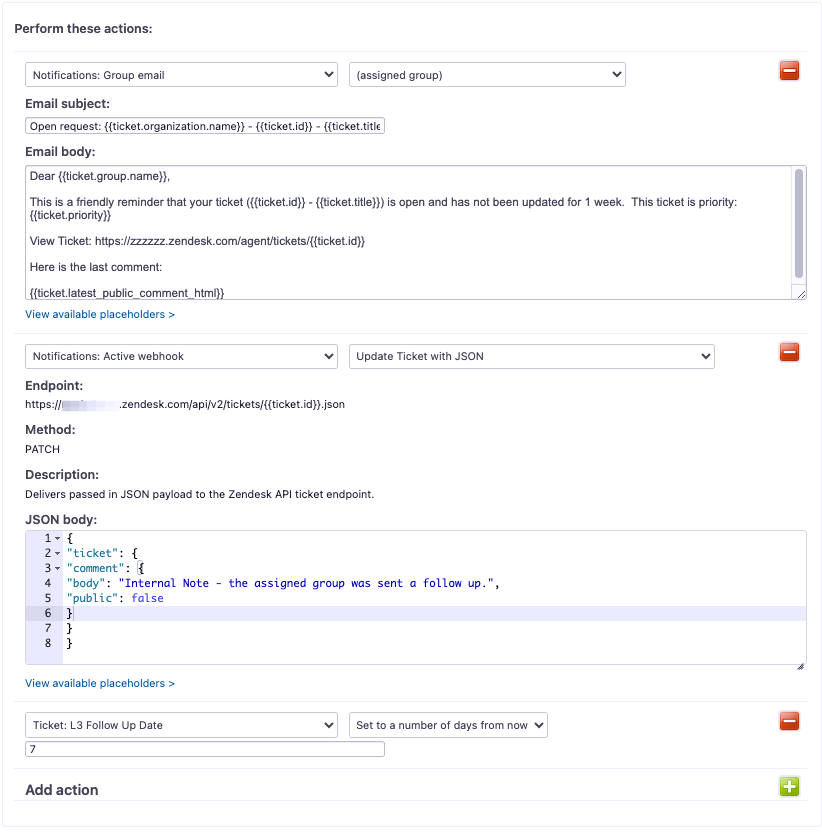
- Actions:
- Notify assigned group by email
- Post internal note via webhook
- Reset T3 Follow Up Date to 7 days from now
💡 Important Note
If your T3 group sends the ticket back to the source group, set a trigger to remove the T3 Follow Up Date.
Recap
This automation checks tickets where the T3 Follow Up Date has passed. It emails the assigned group, posts an internal note, and resets the date for another 7 days. You can also add tags or a counter field to track how often bumps occur.
This data helps improve internal processes and quality.
In Part 2, we’ll look at optimising the Solve stage. In Part 3, we’ll cover extending auto-close beyond Zendesk’s 28-day maximum.